Latest Entries

Dean gets an A’daBoy

Your classmate Dean found this free FTP program. Say it with me – IT IS FREE – But it installs only on Firefox. Copy and paste this link using FIREFOX not Safari

https://addons.mozilla.org/en-US/firefox/addon/684

Then hit the INSTALL button It will install it in your FireFox brower. I will add a shot tutorial to configure it soon. That way it may be easier to add files to your web space.

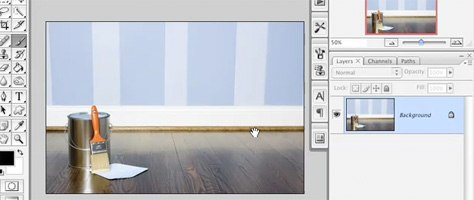
Photoshop layer masking demo

link to video

If you use Adobe Photoshop, you might find this on line video tutorial of interest. Follow this link to a video by Matt Kloskowski. The series is part of the on line videos by Peachpit Press. The link that takes you to the video is at the bottom and is called Layer Masking 101 Tutorial.

Using retention aid

These instructions were included in the shipment of Retention aid.

Carriage House Retention Aid is a cationic poly(arnine) specifically manufactured for the retention of pigments, dyes and other fillers in paper pulp.

Directions for using retention aid

Please note that all pigments, dyes, and other chemicals should be handled with care. For more information as to the proper precautions in working with art materials, contact: Cent for Occupational Hazards, 7 Beekman St., New York, NY 10038. The Center has several detailed publications on this important subject.

Use and Instructions:

Retention Aid is used by first making a stock solution. This is then measured out for use and diluted further before adding to the pulp. The dry powder has an indefinite shelf life. The mixed solution is best used within one or two days, but will store longer under most conditions.

Making stock solution:

The stock solution is made by mixing the dry powder with water to make a concentrated solution. To allow the solution to mix properly, it is best to make it the night before it is needed, though in most circumstances a solution free of lumps can be made within an hour. The ratio of the powder to the water is 1 tsp. powder per 1 pt. of water. Slowly add the powder to the water while mixing, until all powder is into solution. If necessary, use a blender to break up the clumps.

Use of stock solution:

The stock solution must first be diluted with 1 gal. of water before it is added directly to the pulp to allow for even dispersion. Add your pigment to the pulp. Once you have the color you want, slowly begin adding the retention aid solution. Continue to add until the pigment is retained.

Use with sizing:

If you are using sizing, the order for mixing is: pigment, retention aid, sizing. Allow about 5 min. between steps for proper mixing.

Carriage House Paper

1 800 669 8781

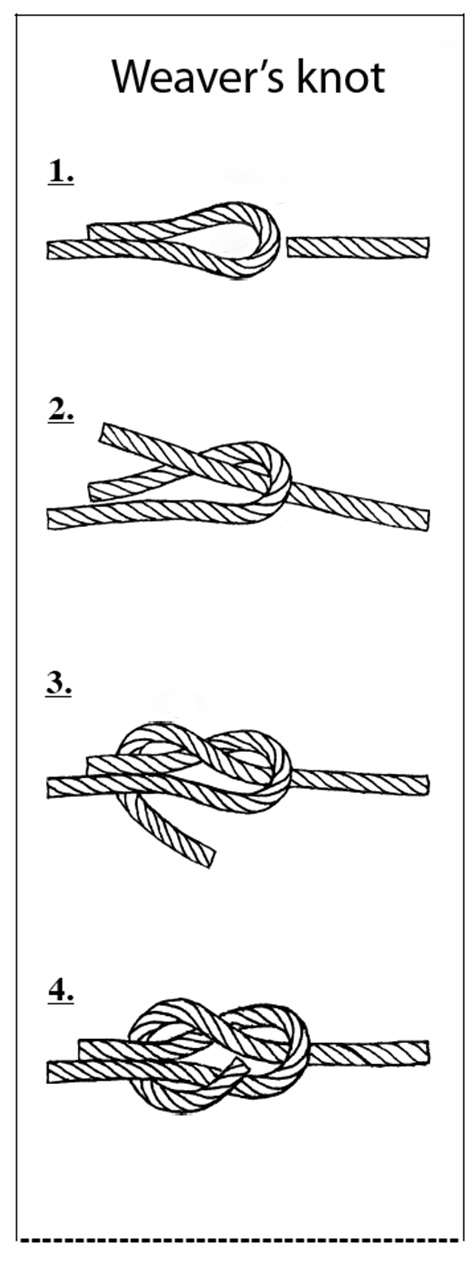
Weaver’s knot – a frequent request

A frequent question in class is “Can you show me AGAIN how to tie a weaver’s knot. This illustration my help.

Adding pigment to fiber

A resent observation. A student was using pigment to add color to the cotton fiber. She added too much pigment to the pulp. When she squeezed the pulp to, she noticed that alot of the yellow ran out. When this happens, you need to rinse the pulp. Do not add more retention agent as that will not keep the pigment from running out. Adding more retention agent is not going to keep the pigment in the pulp. It is simply over saturated with pgiment. Rinse the pulp with fresh water to flush out the excess pigment prior to forming the sheets. Not rinsing it will stain all the felts. It is best to be safe and wear rubber gloves when flushing out the pigment if you think it is at excess levels.

Soda Ash

Using Soda Ash – Use eye protection and rubber gloves.
USE: Cooking raw fiber to prepare for papermaking.
COOKING INSTRUCTIONS: For fibers such as Kozo, use 4 to 5 ounces per pound of dry fiber. Cook in a stainless steel or enameled steel pot NOT IN an aluminum pot, .
PRECAUTIONS: Soda Ash is considered mild, but it a caustic and requires careful handling. All alkali chemicals should be added to water, never add water to an alkali as spattering can occur; wear eye protection. It rarely irritates the skin, but can cause drying and cracking; wear rubber gloves.

Making large sheets of paper

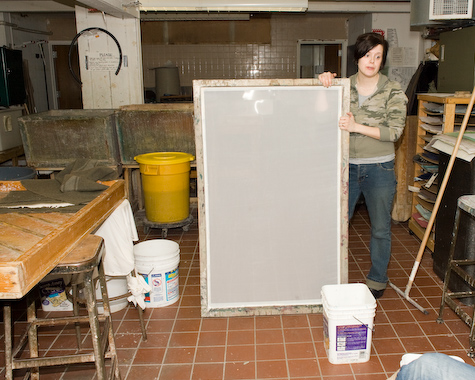
Megan Page is showing the full frame for the sheet of paper. This frame is made out of 2×4 wood with silkscreen material.
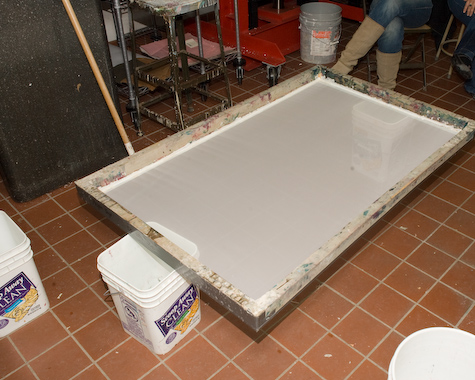
Place the frame off the floor.

Megan is illustrating the slimy nature of formation agent.

This bucket hold several gallons of abaca pulp.

Abaca pulp is added to the 5 gallon pail of formation agent.
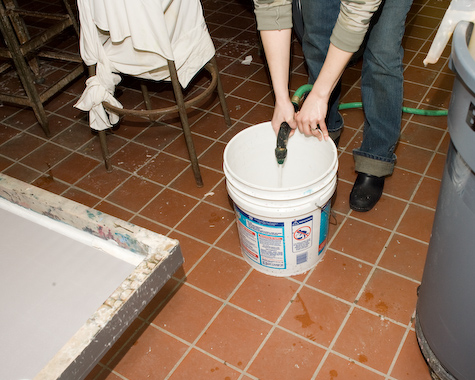
Water is added to fill the pail and mix the pulp.
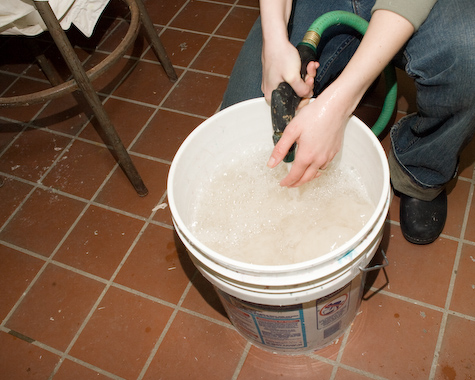
Add water until the pail is full.

A spray hose is used to dampen the screen.
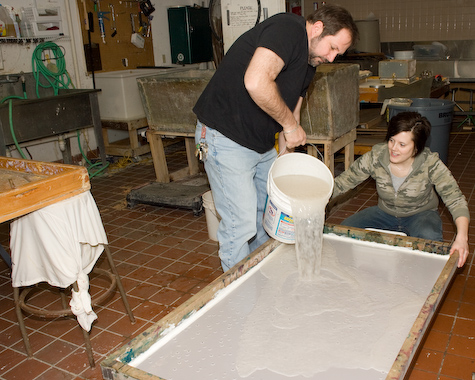
Megan secures the screen while Jim pours the pulp and formation agent onto the screen. Pour the solution as quickly as possible, without spilling it over the edge of the frame.
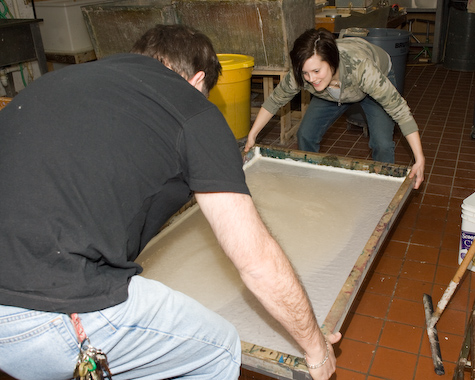
Quickly pick up the frame and rock the pulp slurry from side to side so that the pulp is distributed evenly over the frame.

The rocking may take a few minutes to allow the water to drain from the frame.
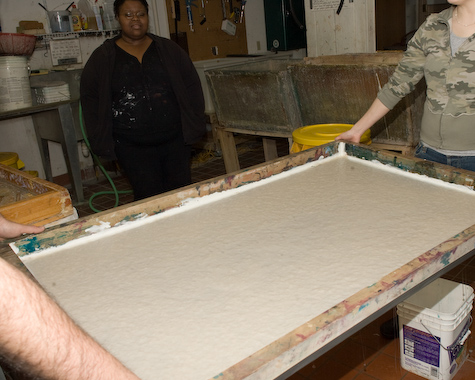
Once all of the water has drained, the wet frame can be set on supports.
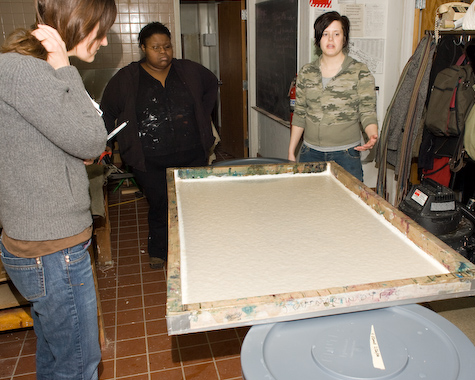
In this case, we placed the wet sheet and frame on two large trash cans.
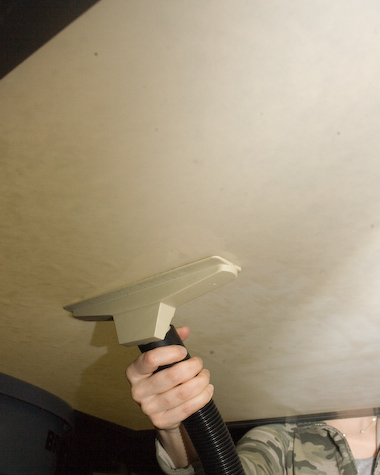
Take the shop vac and begin to suck water from the under side of the frame. The attachment is placed on the silk screen material.

The shop vac attachment must be moved all over the sheet to remove as much water as possible.

Continue moving the attachment all over.

The sheet should be left to dry for a day or two.
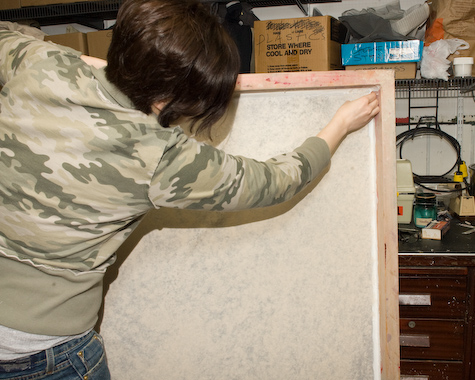
Once the sheet is dry, it must be carefully removed from the screen.

Carefully remove the entire sheet from the screen.
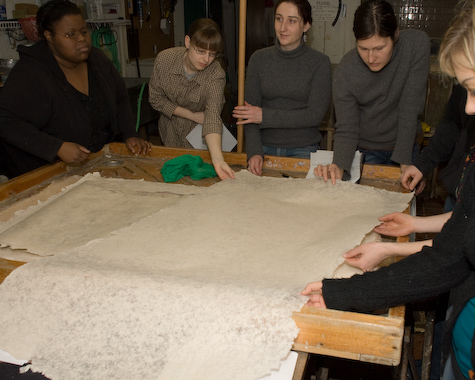
Students inspect a dry sheet

Copyright © 2004–2009. All rights reserved.

RSS Feed. This blog is proudly powered by Wordpress and uses Modern Clix, a theme by Rodrigo Galindez.