How to Make Paper from Corn Husks
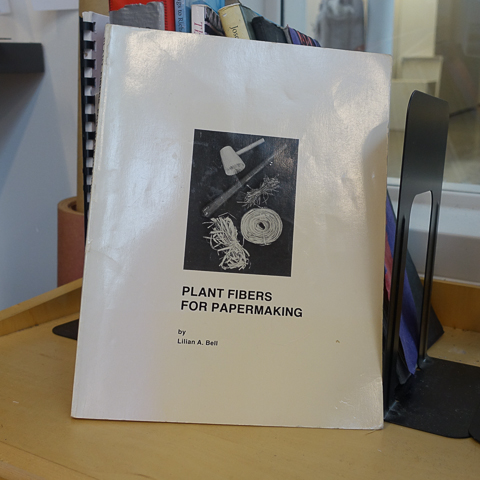
People often want to know how to make paper from a plant fiber. Many different fibers can be used. For this demonstrations, I used fibers that were donated by Bill Tracy, Professor in the University of Wisconsin-Madison Agronomy Department. He manages a large sweet corn research program. In the paper lab we have Lilian Bell’s classic book Plant Fibers for Papermaking. Her book is a great book to start your own investigation. This link will display the location of the book in the class bookshelf.Others exist and additionally, one of the best resources for all kinds of information is the website for Hand Papermaking Organization. This link will play the video How to Make Paper from Corn Husks in HD on YouTube.

