Setting up your web space
These photos illustrate how to set up your web space at the School of Education web space. Check your email for the url, user name and password.
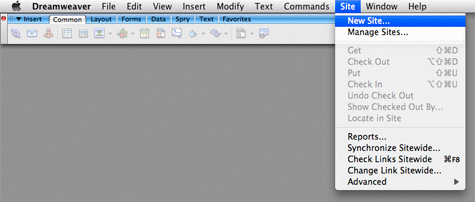
Step one – Load Dreamweaver and go to the Site menu and scroll down to the new site selection.
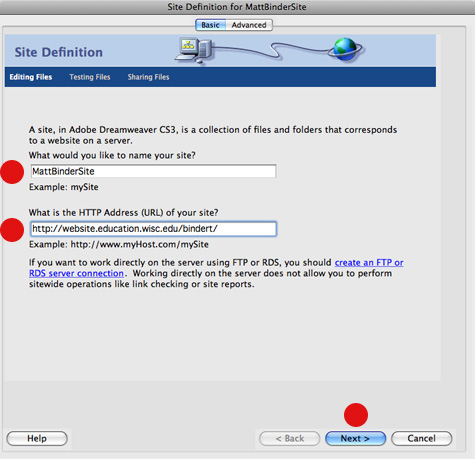
Step two – You can title your site any name that you like. This is simply the file name, it is not the web site name. Type in the web address that is in your email where it says “What is the HTTP address of your site?” Select “Next”
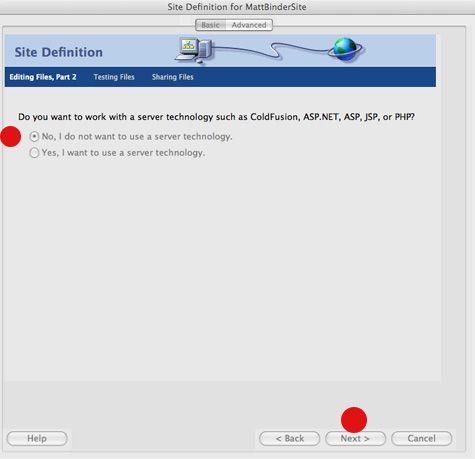
Step three – Select no for using server technology and then Select “Next” at the bottom of the window. Select “Next” at the bottom of the window.
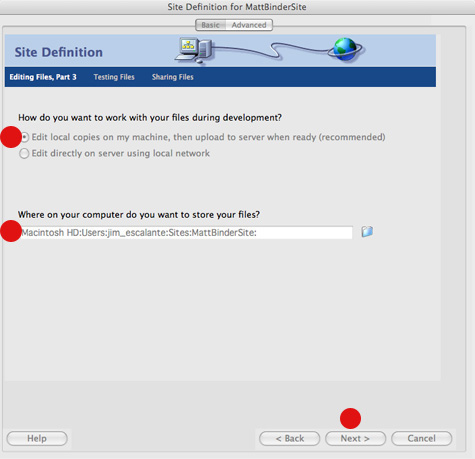
Step four – Select “Edit Local copies on my machine” for this step. The second window is asking you for a location on your computer to store your files. Click on the folder icon that is located on the right side of the window and navigate to a location of your choice. Select “Next” at the bottom of the window.
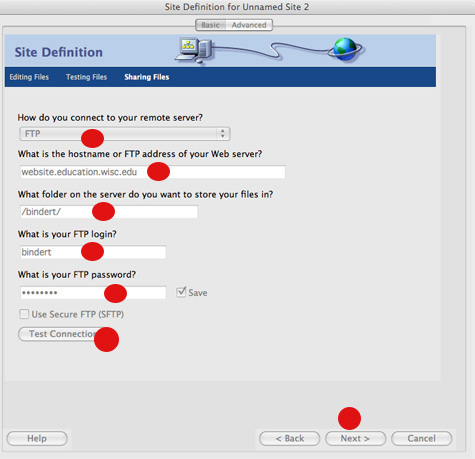
Step five – Fill in these sections with your information. In the top window select FTP as your choice. Use the user name and pass word that was given to you, not your UW net id. You can hit the “Test connection” button to see if it connects with the server. Then Select “Next” at the bottom of the window.
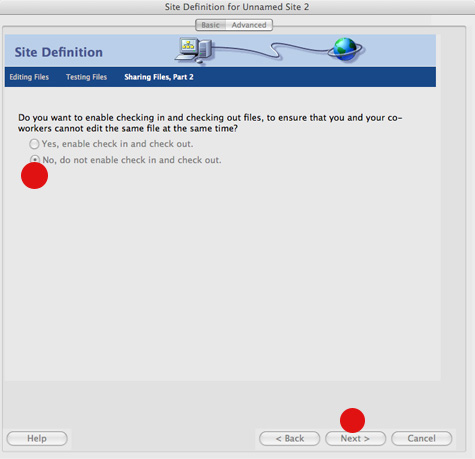
Step six – Selected “No, do not enable check in and check out”. Select “Next” at the bottom of the window.
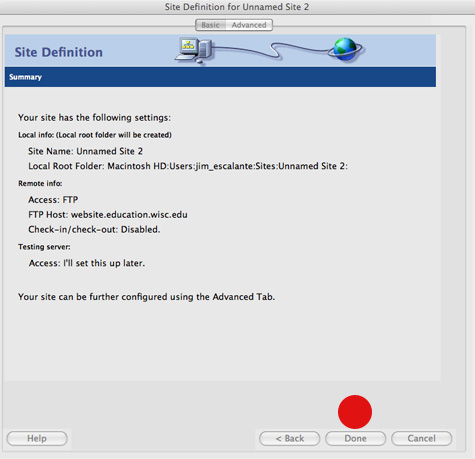
Step seven – Select done.