Archived entries for Art Classes

How to Make a Leather Journal

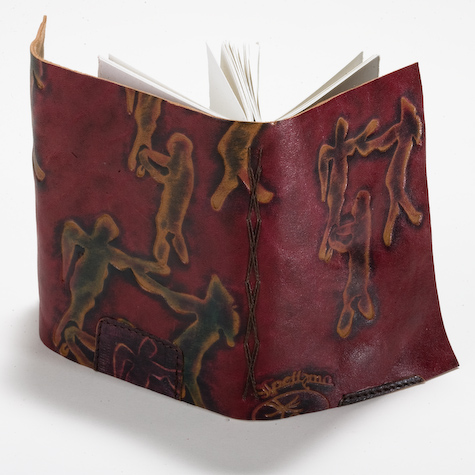
Danika Morphew-Tarbuck gave a demo to the class to teach us how to sew a leather wrapper around two signatures of drawing paper. Below is a photo of a sample that she created.

sample of finished journal

Danika used leather from a purse that she bought at a thrift store to use as the cover. Heavy weight drawing paper was used for the journal pages. She said sewing is easier if you use waxed linen thread. You will need two needles to sew this book.

Step by step photos can be seen by going to the Read more >. Continue reading…

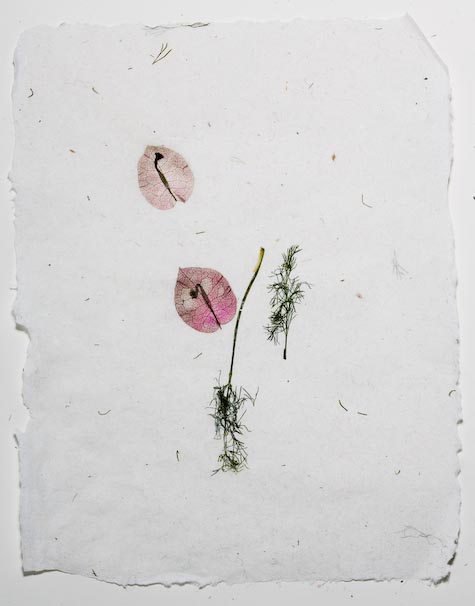
Chinese lantern flower or Bougainvillea + cotton

Shanna Kaczynski, Sarah Ripp and Kathyrn Petke have been collaborating on sheet formation. Kathyrn brought in some puffy plants which I think are called Chinese lantern flowers or maybe they areĀ Bougainvillea. Shanna harvested some dill will. There is no shortage of wild dill weed in Wisconsin during the summer. Sarah Ripp provided some white cotton fiber. The plants were dried under pressure for several days and added to beaten pulp in the vat during the formation process. The result are sheets with randomly placed dried plant matter on a white sheet. The Bougainvillea have lost some color but the texture and shape add visual interest to the sheet.

2 signature pamphlet

Two-signature pamphlet

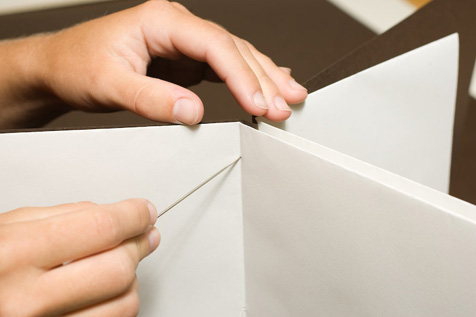
You can see a gallery of photos illustrating the step to make a two-signature pamphlet binding here.

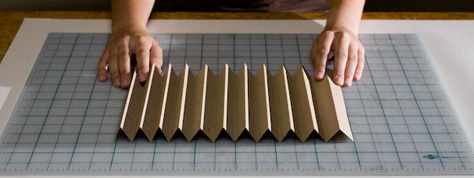
How to make a concertina

concertina_01.jpg
Concertina demo – brief demo showing how to fold the concertina pleat.
Tool and materials
Sheet of cover stock
Ruler
Pencil
Bone folder – is optional
Visit these photo galleries for ideas.

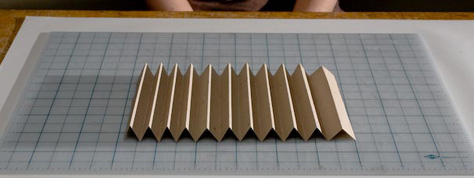
Once you finish these simple steps, you will have a concertina with 11 pleats. These photos demonstrate an easy approach. If you need real narrow concertina pleats, say less than half an inch wide, you may need to experiment with other methods. I will be happy to show you how to use the vandercook press to score your paper.
Image 1
concertina_02.jpg
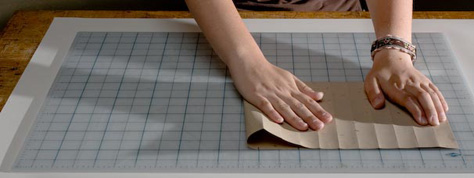
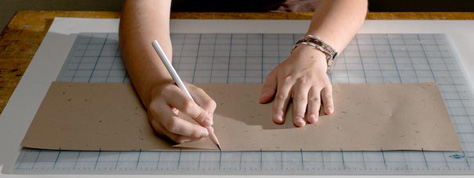
Start with a sheet of paper 22 inches x 8 inches. Draw short marks every two inches along the top or long edge of the sheet. The marks will be used as folding guides. A two-inch interval will produce a concertina pleat that is one inch wide. The marks can be drawn at any desired spacing. Remember, that the pleats will be half the width of the spacing. This is will be cleared up in a few steps.
Image 2
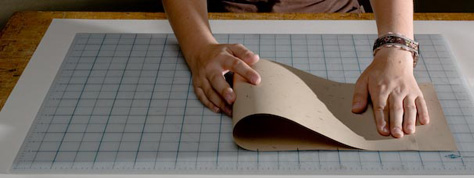
concertina_03.jpg
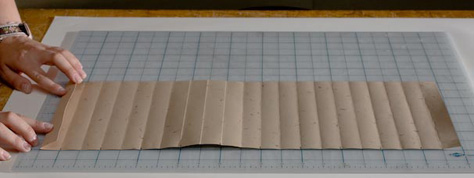
Once the marks have been drawn on the top of the sheet, take either side and fold the length toward the opposite edge of the sheet. In this photograph, the left edge is folded toward the first mark on the right side of the sheet and fold the sheet flat. Keep the top and bottom edges aligned and fold the paper straight down. The fold needs to be perfectly perpendicular to the long side.
Image 3
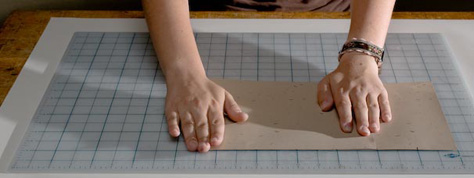
concertina_04.jpg
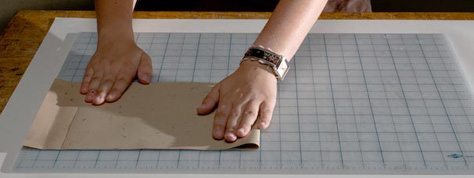
Next, move the left edge to the next mark, and again fold the sheet flat, keeping the paper aligned to create a perpendicular fold.
Image 4
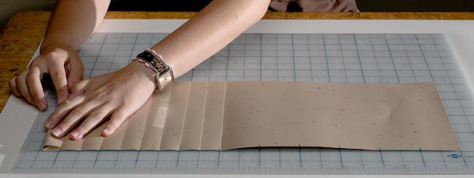
concertina_05.jpg
Image 5
concertina_06.jpg
Image 6
concertina_07.jpg
Repeat folding the sheet by moving the edge to the next mark until the end of the sheet is reached.
Image 7
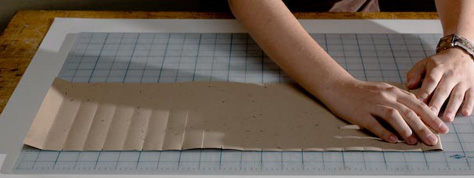
concertina_08.jpg
Continue making folds, aligning the marks, using the opposite side of the sheet until the sheet is folded every two inches. In this example, the sheet of paper will have 11 folded pleats.
Image 8
concertina_09.jpg
Image 9
concertina_10.jpg
Image 10
concertina_11.jpg
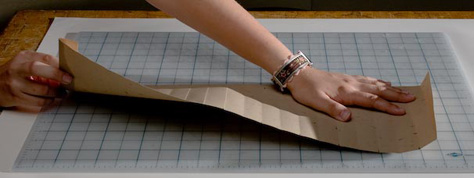
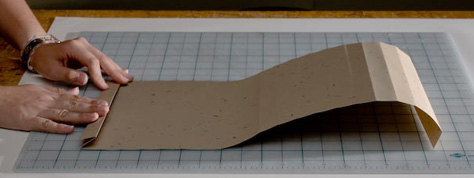
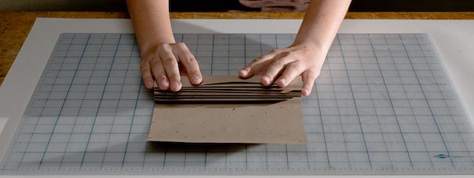
Once all the folds have been made, the sheet needs to be folded back and forth to create the concertina. Start at one end and fold the paper forward at the first crease. Turn the paper over and fold again at the second crease. Repeat folding back and forth until all the folds are made.
Image 11
concertina_12.jpg
Image 12
concertina_13.jpg
This is the basic approach for the concertina structure. It can be used as a support for sewing envelopes or folded pages or for using in a flag book. Conservation binders use thin paper to make small concertina pleats as a guard for the spine of a book. The concertina pleat has many uses. Smaller pleats can be trickier to fold if you need to make lots of them and hope they align. I will be happy to show you how to use the Vandercook Press to score lines for accurate folds.

Visit these photo galleries for ideas. Have fun.
I get so hungry in class!

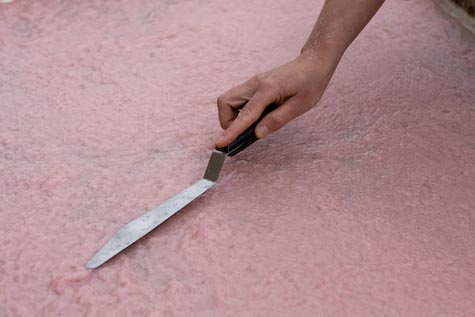
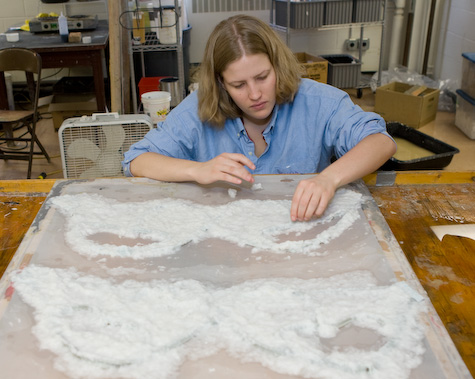
Often when we are working in class, pulp looks like food. Jean Funcke has some pinkish pulp that is so similar to cake icing that I wish someone had brought a birthday cake to class. Let’s take a moment to review why we even took this photo.Jean Funke smoothes over pulp Continue reading…

Cotton pulp + elastic + underwire

Patricia LaPointe working on papermaking project.
Patricia LaPointe is constructing an object out of cotton pulp and an underwire structure. First placing a “de-constructed brassiere” on synthetic silkscreen material and outlining the shape with wet cotton pulp, she builds her shape.
Continue reading…

Etchings on abaca

Etching on abaca paper by Waverly Liu

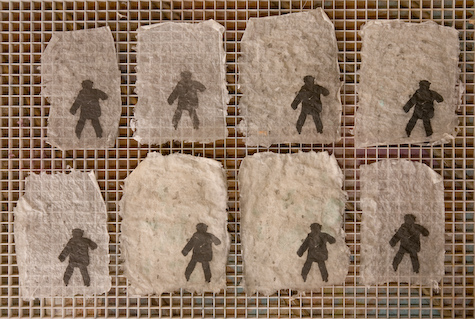
Waverly Liu printed an etching plate on thin sheets of abaca paper. The etching plate of the figure is larger than the plate. Thin abaca paper holds up to the etching printing process which requires dampening and drying. The prints are not flat but have a nice texutre and hold a plate tone as as background tint.


Copyright © 2004–2009. All rights reserved.

RSS Feed. This blog is proudly powered by Wordpress and uses Modern Clix, a theme by Rodrigo Galindez.