How to make a concertina
Concertina demo – brief demo showing how to fold the concertina pleat.
Tool and materials
Sheet of cover stock
Ruler
Pencil
Bone folder – is optional
Visit these photo galleries for ideas.
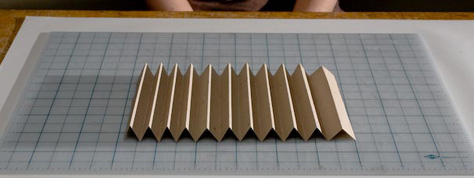
Once you finish these simple steps, you will have a concertina with 11 pleats. These photos demonstrate an easy approach. If you need real narrow concertina pleats, say less than half an inch wide, you may need to experiment with other methods. I will be happy to show you how to use the vandercook press to score your paper.
Image 1
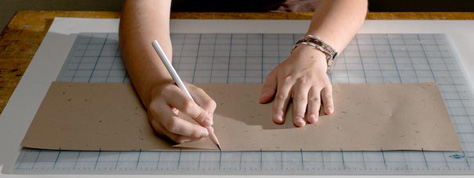
Start with a sheet of paper 22 inches x 8 inches. Draw short marks every two inches along the top or long edge of the sheet. The marks will be used as folding guides. A two-inch interval will produce a concertina pleat that is one inch wide. The marks can be drawn at any desired spacing. Remember, that the pleats will be half the width of the spacing. This is will be cleared up in a few steps.
Image 2
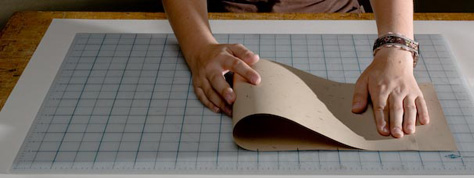
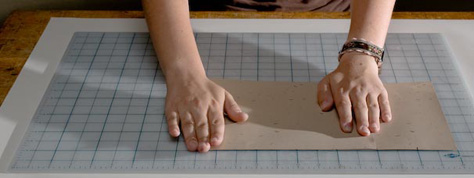
Once the marks have been drawn on the top of the sheet, take either side and fold the length toward the opposite edge of the sheet. In this photograph, the left edge is folded toward the first mark on the right side of the sheet and fold the sheet flat. Keep the top and bottom edges aligned and fold the paper straight down. The fold needs to be perfectly perpendicular to the long side.
Image 3
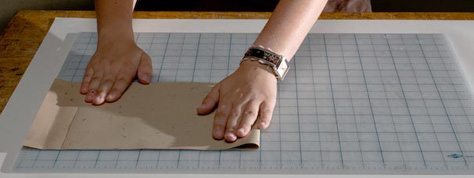
Next, move the left edge to the next mark, and again fold the sheet flat, keeping the paper aligned to create a perpendicular fold.
Image 4
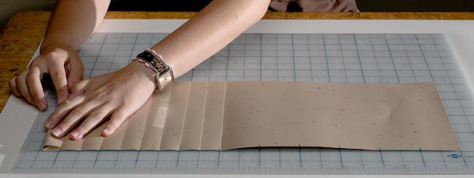
Image 5
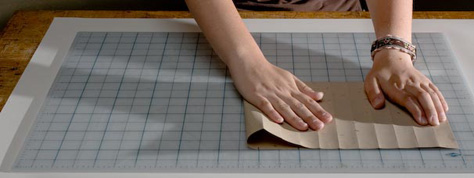
Image 6
Repeat folding the sheet by moving the edge to the next mark until the end of the sheet is reached.
Image 7
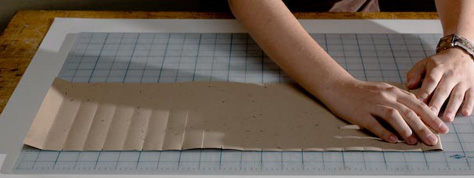
Continue making folds, aligning the marks, using the opposite side of the sheet until the sheet is folded every two inches. In this example, the sheet of paper will have 11 folded pleats.
Image 8
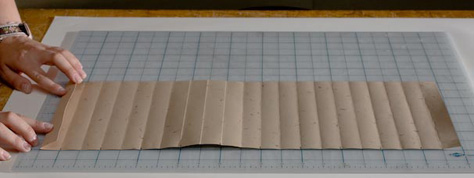
Image 9
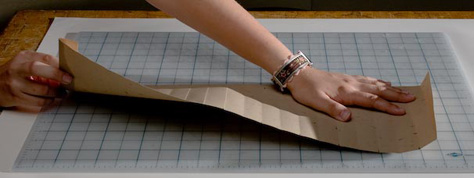
Image 10
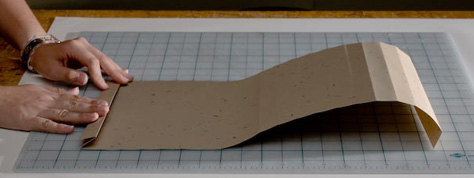
Once all the folds have been made, the sheet needs to be folded back and forth to create the concertina. Start at one end and fold the paper forward at the first crease. Turn the paper over and fold again at the second crease. Repeat folding back and forth until all the folds are made.
Image 11
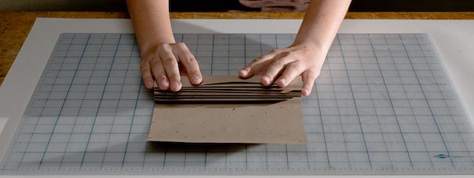
Image 12

This is the basic approach for the concertina structure. It can be used as a support for sewing envelopes or folded pages or for using in a flag book. Conservation binders use thin paper to make small concertina pleats as a guard for the spine of a book. The concertina pleat has many uses. Smaller pleats can be trickier to fold if you need to make lots of them and hope they align. I will be happy to show you how to use the Vandercook Press to score lines for accurate folds.
Visit these photo galleries for ideas. Have fun.
