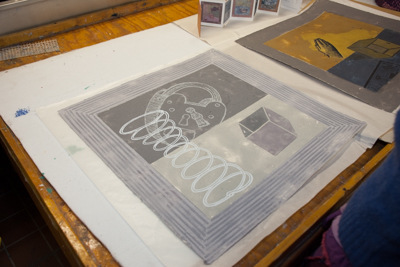
Georgia Deal Pulp Painting
Georgia Deal
Corcoran College of Art & Design
Printing with Pulp
Demonstration at the Southern Graphics Council Conference,
April 6, 2006 at the University of Wisconsin-Madison
Sample from the demonstration
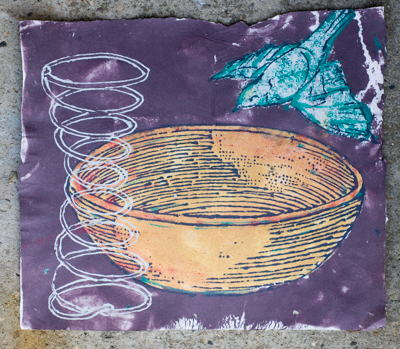
Tools and materials
- Sheet of damp formed handmade paper
- interfacing
- Pigments
- Sponges
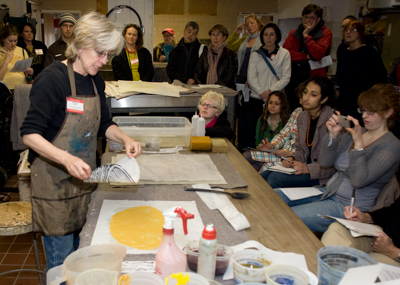
These photos are from the demonstration by Georgia Deal gave at the April 2006 Southern Graphics Council Conference, in the papermaking facility in the Department of Art.
One of the items that Georgia Deal produced in the two hour demo.
Image 1
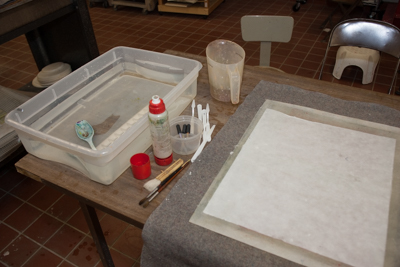
The work is best done on a flat work surface. On the left side of the photo is a a tub with water for soaking pieces of Pelon interfacing soaking. Work for the pulp painting will take place on the stack on the right side of the photo. A sheet of damp white handmade paper sits on top of a sheet white Pelon interfacing. Under the interfacing are several wool felts. Under the felts is a piece of plywood. The plywood will give support to the damp sheets when the work is finished.
Image 2
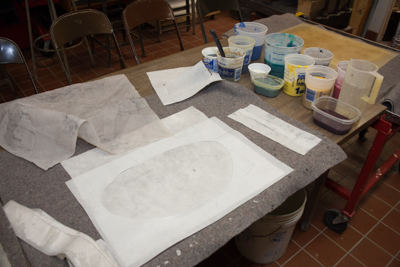
Just to the right of the white damp sheet of handmade paper are other pieces of Pelon interfacing. Look carefully at the one on the right, as it has an oval shape has been cut out of the center and will be used as a pattern for pouring pulp onto the print. On the far right side are plastic containers with colored pulp. It is best to pre mix as many colors as you will need.
Image 3
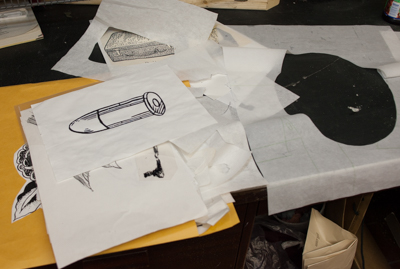
Georgia brought photocopies of large drawings to use for tracing.
Image 4
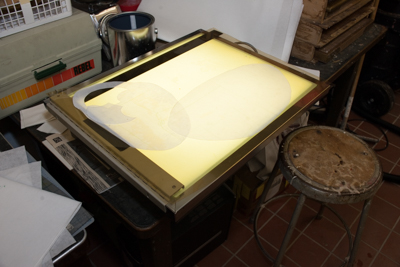
A light table was used for tracing the large drawings onto the Pelon interfacing. Georgia used an eye dropper filled with color pulp to draw onto the Pelon filled with finely beaten colored pulp.
Image 5
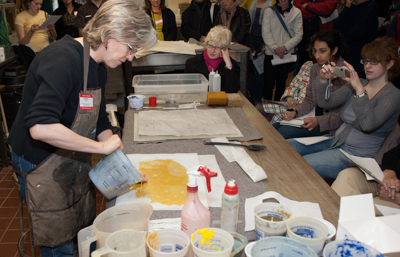
Georgia first placed a sheet of Pelon interfacing on the damp handmade paper. The interfacing has an oval cut out in the center (see image 2). Next she poured the yellow pulp onto the interfacing. When the interfacing is pulled off of the damp sheet, it will leave an oval with a distinct edge.
Image 6
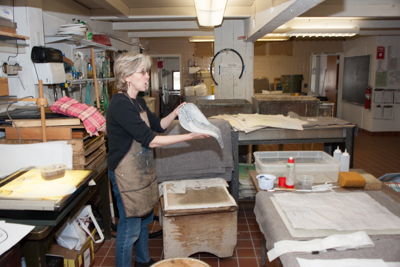
Georgia presents to the attendees a drawing that she did on the Pelon interfacing. This drawing will be placed on the damp sheet of handmade paper. She carefully drew the drawing in a mirror image because once she pulls the Pelon off the damp sheet, the drawing will be facing right reading. It may not make any difference for some drawings, but if you want the drawing to be pointing in a specific direction, make sure you draw your drawing on the Pelon in a mirror image.
Image 7
Notice how the yellow shape has a distinct oval shape with a clean edge. Prior to working on the paper painting, she pulled off the interfacing. She carefully places the Pelon Interfacing with her drawing on to the shape. Her drawing in facing the yellow pulp.
Image 8

She places the Pelon interfacing with her drawing carefully in the exact location. It will sit right on top of the yellow oval shape that she pored.
strong>Image 9
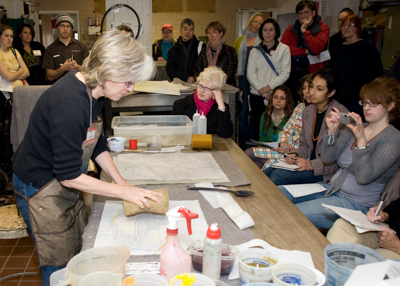
Once the interfacing was placed on to the damp sheet, she careful pressed on the back side with a large damp sponge. The damp sponge gives off a small amount of water as she pushes down on it. This helps to transfer the drawn pulp off of the interfacing on to the pulp painting.
Image 10
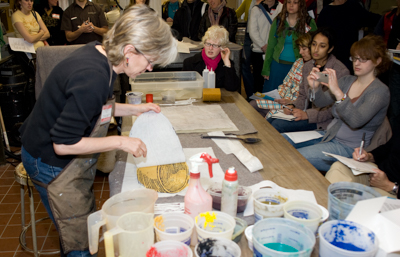
Georgia carefully pulls the Pelon interfacing up and off of the damp paper painting.
Image 11
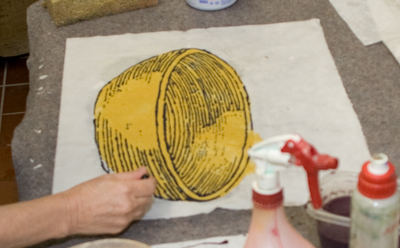
She can fill in any details with an eye dropper filled with colored pulp.
Image 12
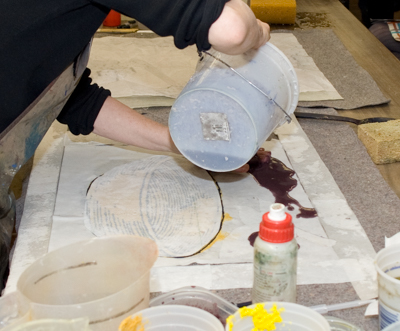
Next, Georgia works on adding color to the background. She carefully pours pulp on the outer edges of the paper painting. Prior to pouring the purple pulp, she covered the bowl shape with an oval cut out of Pelon interfacing.
Image 13
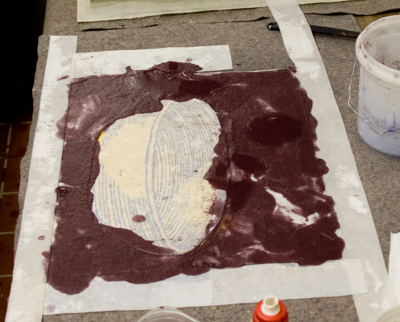
The purple pulp has been poured on and the water from the pulp has been allowed to drain through the Pelon Interfacing. It is best to let the pulp sit on the sheet before pulling off the oval interfacing that protects the bowl shape.
Image 14
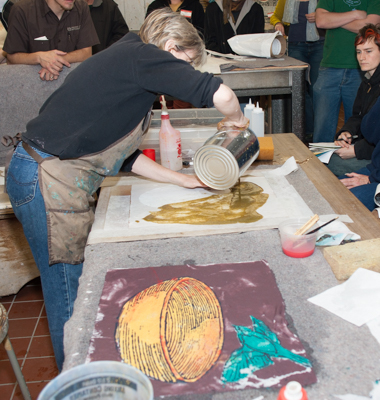
Georgia begins working on a second pulp piece. She has placed a second sheet of dampened handmade paper on a stack of felts, Pelon interfacing and thin piece of plywood. The plywood is covered and is not visible. Prior to pouring the yellow pulp, she placed a piece of Pelon interfacing on the damp sheet, (an outline shape of a lock). The interfacing or lock shaped template, will prevent the yellow pulp from going on that part of the damp sheet. Image 16, below, shows the outcome of the lock shaped template on the poured pulp.
Image 15
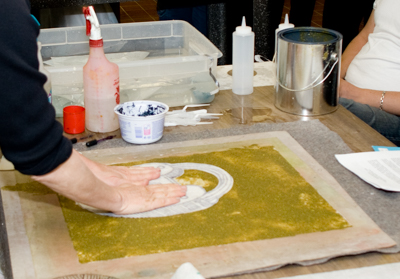
After the yellow pulp was poured on the damp sheet, Georgia used another sheet of Pelon interfacing to transfer black lines onto the lock. Again, image 16 show the how the lines look.
Image 16
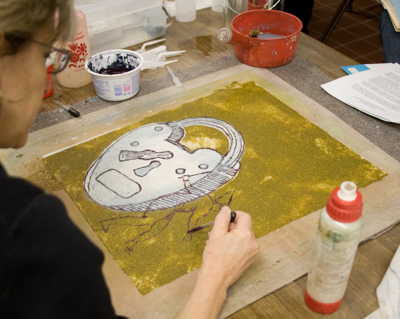
The white portion of this image is the result of the Pelon interfacing in Image 14. After the interfacing was lifted off of the paper painting, Georgia takes an eye dropper filled with purple pulp and touches up the outline drawing of a figure that was transfered to the damp paper using a smaller sheet of interfacing.
Image 17
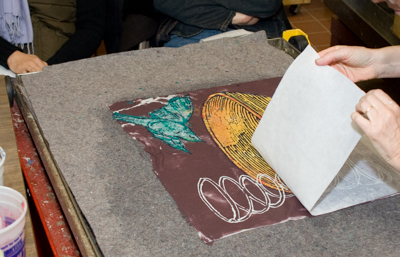
During the demonstration, Georgia worked on two separate pieces. While one dried a bit, she moved to the other sample. Here, the first piece has been moved to a card and she is lifting a Pelon interfacing sheet off of the damp paper. The white coil shape was drawn onto the interfacing. George had a drawing that she placed on the light table and traced the drawing using a eye dropper filled with white pulp.
Image 18
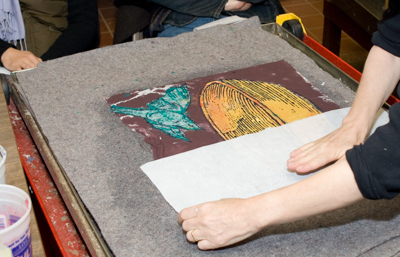
As she pulled the interfacing off of the damp sheet, part of the coil pulled off of the paper. Georgia simply placed the interfacing back onto the damp sheet, applied slight pressure and lifted it off.
Once the two pieces were finished, Pelon interfacing was stacked on top of the finished pieces and they were placed inside a press. The press applies lots of pressure to the sheets and presses out any remaining water. It also evens out the pulp and makes the sheet a uniform thickness.
Image 19
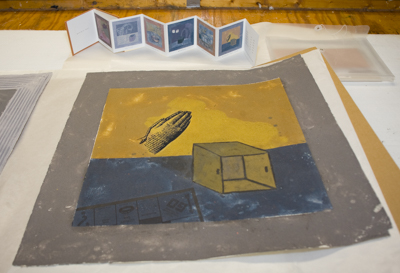
Georgia brought two samples of finished printed pulp pieces. In addition to pulp being applied as demonstrated, some areas of these prints also have silk screened areas.
Image 20
