Sewing a Pamphlet Book
 Selecting your materials:
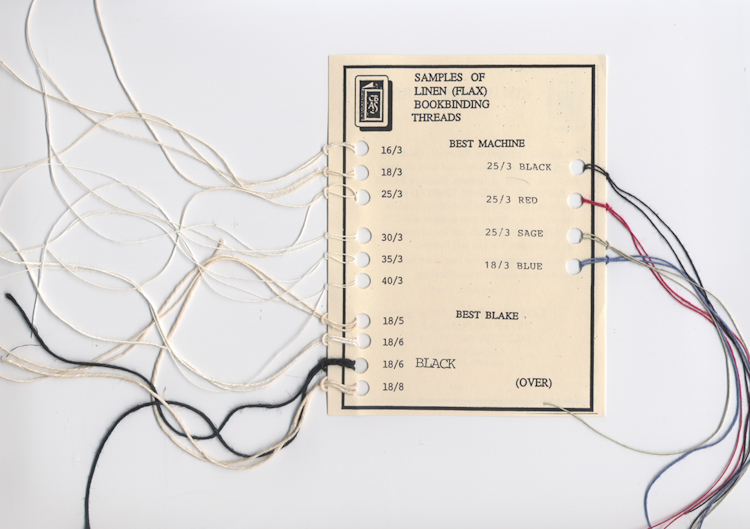
Select materials that are pleasing to you or that might be appropriate for future projects. Be prepared to discuss the reason for making these selections and how they will help convey your concept. For example your choice of paper is great for watercolor painting. Or the texture and color are close to the mood or feeling of your project.
Determine the grain:Examine the sheets to determine the direction of the grain. If you need to cut the sheets, it is best if the grain runs paralle to the spine.
Fold and assemble to book form:Next, fold and trim the translucent sheet and begin to coallate the order of your folios. Trim the size of them if you want to create a patern using smaller sheets. Finally, fold the cover stock. The cover stock can be trimmed to the same page size or it can be slightly larger. If the cover stock is larger, your book will have a visual edge on all sides. This border area is around the book form is called the square. It is a good practice to wait until you have assembled the main signature of the book before cutting the cover. When the book is closed, the fore edge will not be flat since each folded page will push out from the center of the previous fold. You can leave the creep amount as the fore edge or you can trim it even. The thicker the sheet of paper that you use for the signature, the farther out the edge will creep out of the fore-edge. Once all of the parts of the book are assembled and gathered, you have finished assembling the signature for the book form.
Prepare for sewing:The majority of pamphlet sewn books use three holes. The world will not end if you use more than three holes, but more holes are seldom needed. It you want to have a different look, later in the semester you can experiment with sewing patterns using more holes. For this assignment lets just use three holes. The placement for the holes should be in the crease or paper fold approximately 1 inch from the top and bottom and the third should be half way between the top and bottom holes. Just make sure if you sheets are not the same size to arrange them in the design that you want before you punch the holes.
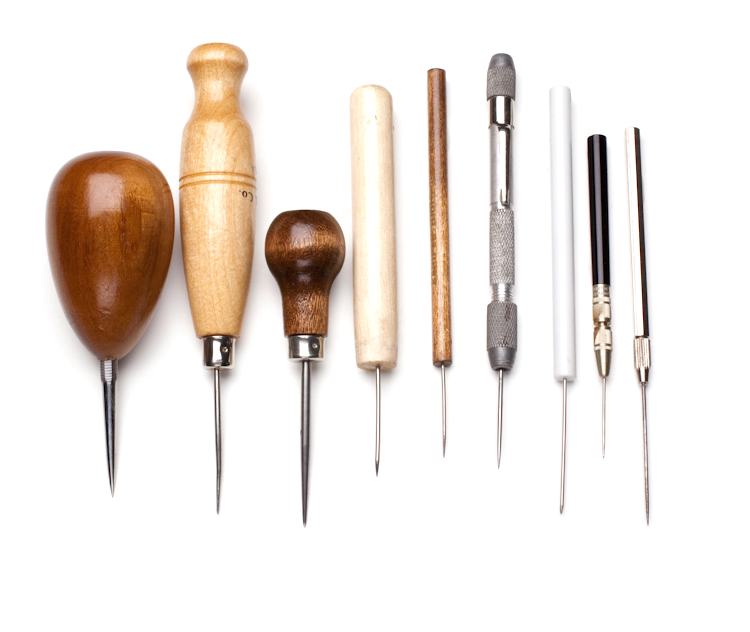
Cut a piece of thread three times as long as the height of the book and thread your binding needle with the thread. You only need one thread thickness. The photograph illustrates the proper way to connect your needle and thread. If you want the finishing knot to be visible on the inside of the book, then start your sewing from the inside. If you want the knot to be visible on the outside of the spine, then start sewing from the outside.
Sew the book: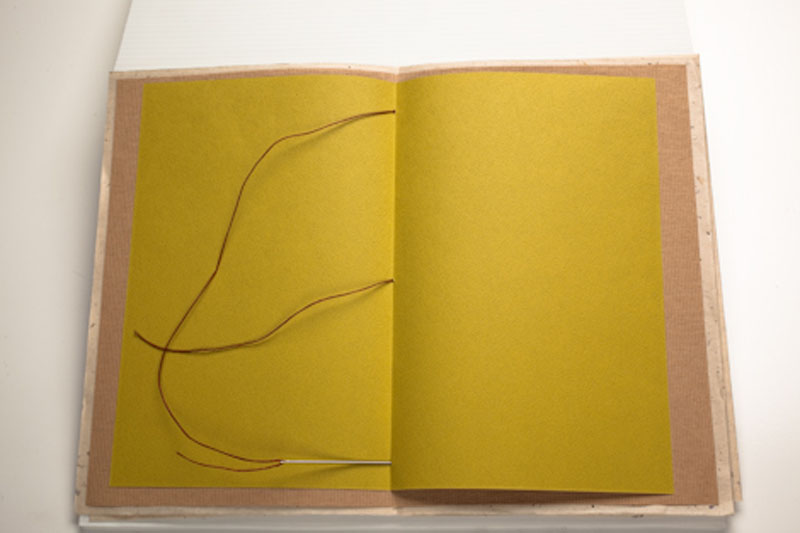
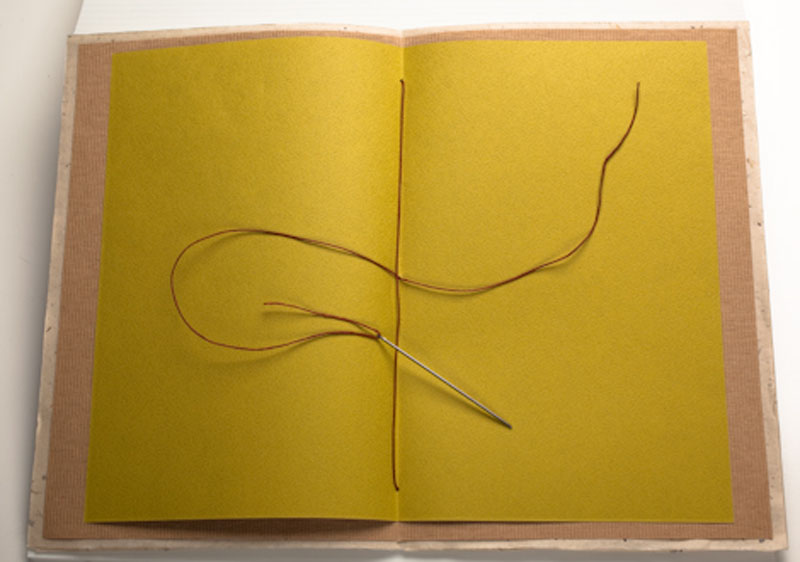
For this project, start sewing at the center hole from the inside. Push the needle out of the inside center hole and move the needle to the top hole. Once you have passed the needle back into the signature, pull the thread to the opposite end or bottom hole and push the needle and thread out from the inside of the signature. Next, take the needle to the outside of the center hole, where the sewing started and thread the needle back into the middle of the book. The sewing is now complete.
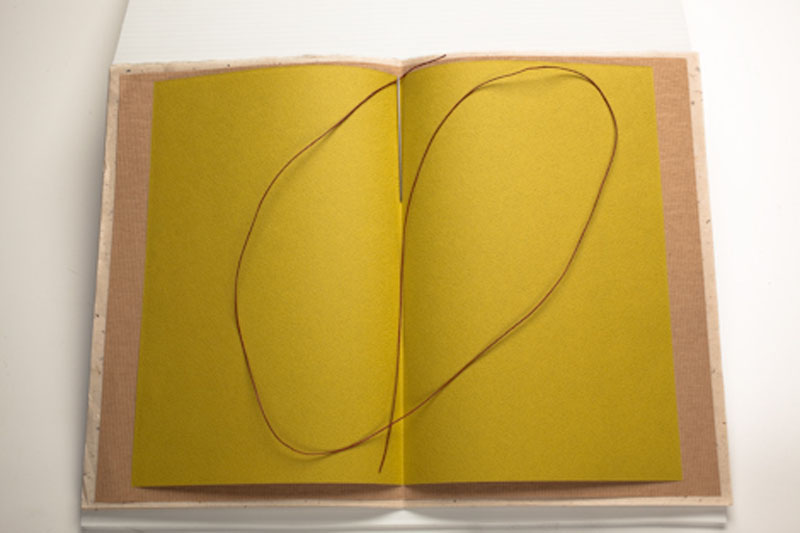
Finishing knot: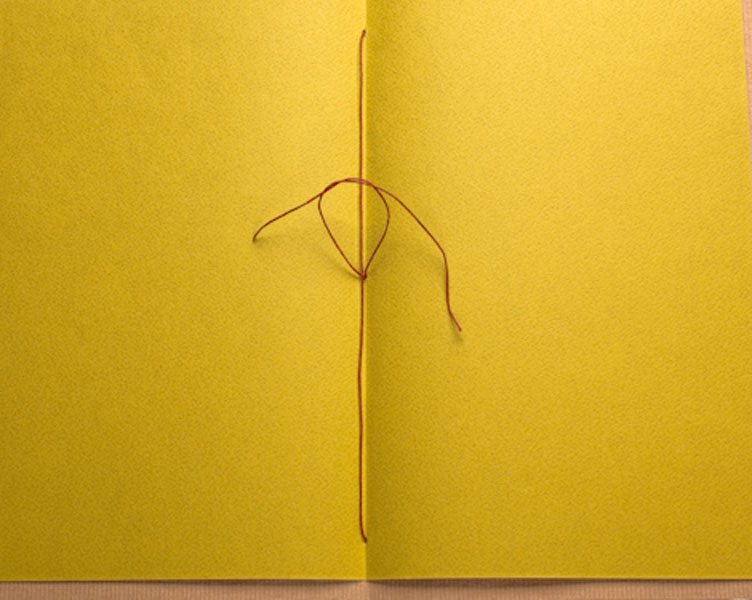 Make
sure the last stitch goes on the other side of the middle thread and
tie it a knot. Double check to make sure your knot catches the thread
so that it will not slip out. You are finished with the sewing and
you can cut any remaining tread after tieing the knot.
Make
sure the last stitch goes on the other side of the middle thread and
tie it a knot. Double check to make sure your knot catches the thread
so that it will not slip out. You are finished with the sewing and
you can cut any remaining tread after tieing the knot.
żQuestions?
This is one of the simplests and most manageable bindings. Yet, a good deal of conversation has resulted when we discuss this simple binding in class.
The nature of the binding is symmetrical and gives so much attention to the center spread.
It is a binding structure that is ideal for an open book.
The book's form can start out very simple and grow or unfold into an architectural form.
The book can start from either side, upside down from each other. A good structure for a book with two views or two languages.
So easy to make it seems disposable.
Easy to take apart and put back together.
It is a "spineless book".